On this page
Sometimes, getting a feel for how to use a new tool can be daunting — especially when you have to figure out your environment before you can even begin to get an idea for the big ideas of the framework.
Of course, ZenML already has some great Quickstart guides, like the Jupyter Notebook and the walkthrough video. Since ZenML is open-source, we saw an opportunity to contribute (and dip our toes into the world of AI!) by taking the existing guide and putting it in a format that more closely resembles a user’s experience working with the tool in their IDE.
That task comprised two parts: getting a consistent sandboxed environment for the user to experiment in and guiding the user through a series of steps to introduce the ZenML framework.
A Sandboxed IDE with Codespaces
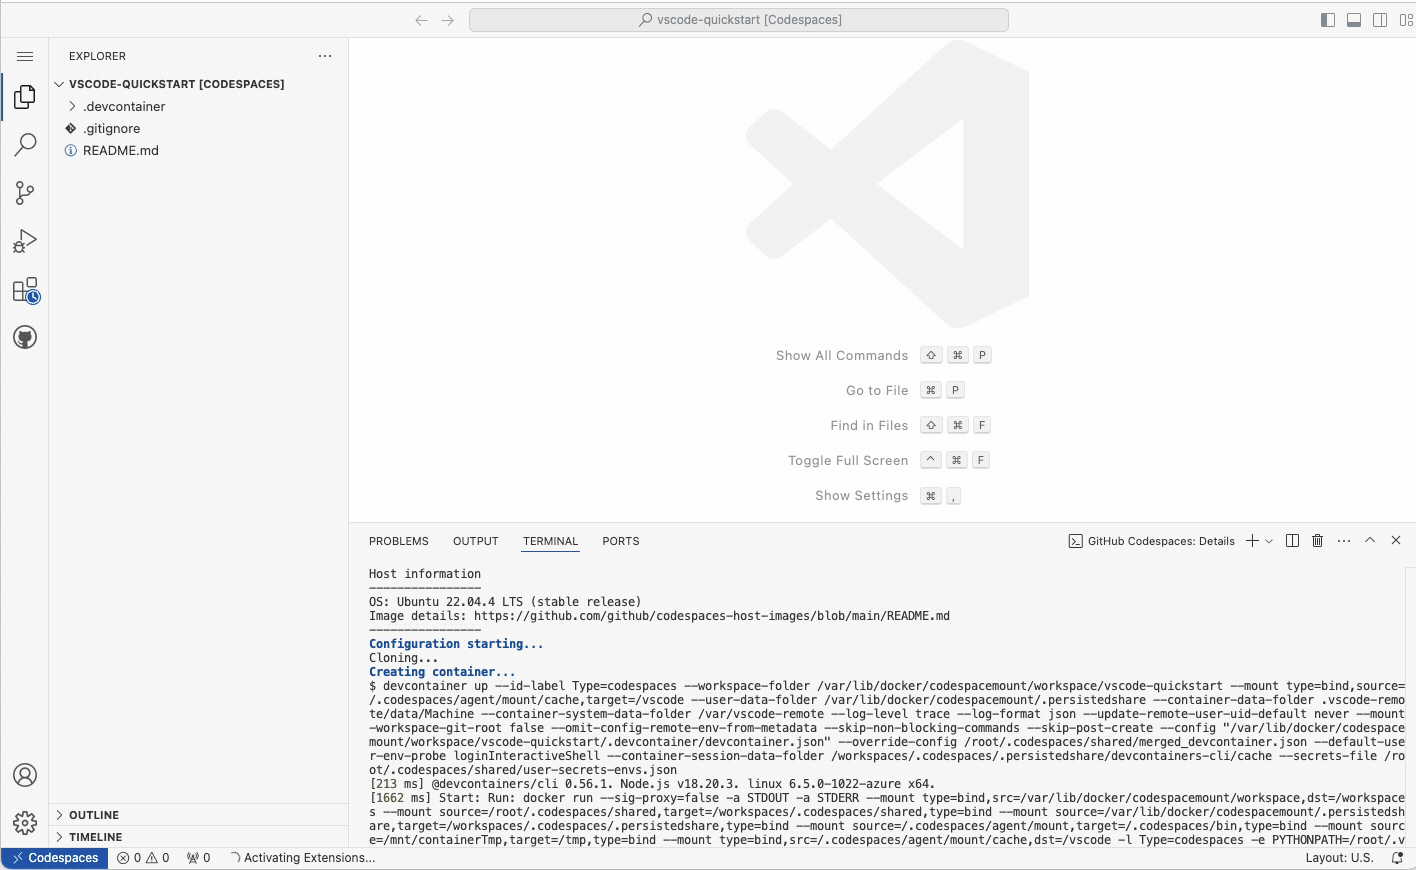
GitHub offers users the ability to spin up development environments with a clone of a given repository. These environments are hosted in the cloud and run in Docker containers, naturally making them sandboxed. They are also customizable through a devcontainer.json file, giving you control over the image the container is built on, default VSCode settings, extensions to be installed, and other such settings.
The ease of setup and accessibility of GitHub Codespaces (a user can readily make a Codespace from the GitHub repository) made it a good candidate for hosting our sandboxed IDE for this experience.
In addition, because Codespaces are configured using a .devcontainer.json file, one also has the option of cloning the repo locally and opening it in a local VSCode dev container if they so desire.
Two Repos, Two Dev Container Configurations
Because a user will have different needs than a developer of the extension, we decided to create two separate repositories for this onboarding experience. One is outward-facing — this is the repository that will be cloned when the user creates a sandbox, while the other is inward-facing — for development purposes only.
The outward-facing repository contains just the packaged VSCode extension (as a .vsix file), and a more pared-down version of the Dockerfile used in the devcontainer.json configuration (without Git or Node.js installed) to aid in a faster container build time.
FROM python:3.11.9-slim-bookworm

# Set custom bash prompt
RUN echo "PS1='ZenML Quickstart$ '" >> /root/.bashrc

RUN pip install --no-cache-dir "zenml[server]"
RUN pip install --no-cache-dir pyarrow
RUN zenml integration install sklearn -y
As you can see, the Dockerfile we used for the outer-facing repo is quite minimal.
On the other hand, the development repository has all the files and dependencies for developing the extension.
We now had a few different environments that we needed to make sure our extension worked in — production (on the outward-facing repo), which could either be accessed locally or on GitHub Codespaces, and development (where testing was done using the extension debugger mode provided by VSCode).
In each of these different environments (production in GitHub Codespaces, production in a local dev container, and development in debugger mode) the extension broke down when looking for Python execution paths and module imports for our Quickstart-specific modules. Like most configurations, the solution was quite simple, but it took us a while to ensure that Python could find everything it needed in our 3 different execution environments!
"PYTHONPATH": "/root/.vscode-server/extensions/zenml.zenml-vscode-quickstart-0.0.1/zenmlQuickstart/quickstartModules:/root/.vscode-remote/extensions/zenml.zenml-vscode-quickstart-0.0.1/zenmlQuickstart/quickstartModules"The solution was to include a PYTHONPATH environment variable in our devcontainer.json file to ensure Python could find the modules it needed.
Optimizing Dev Container Build
Once we managed to get a cursory build of the dev container working, our aim turned towards reducing the time a user had to wait for the container to build. Through a series of optimizations, we decreased the average Codespaces build time from 10 minutes to an average of 1-2 minutes — a significant improvement.
To do this we switched out the default universal dev container image for a custom Dockerfile. This Dockerfile used a smaller base image and did away with unnecessary installations like Git, Node.js, and Typescript used in development but not needed in production to make the resulting image smaller, thus speeding up the download time. We kept the Dockerfile for the outward-facing dev container slim!
FROM python:3.11.9-slim-bookworm

# Set custom bash prompt
RUN echo "PS1='ZenML Quickstart$ '" >> /root/.bashrc

RUN pip install --no-cache-dir "zenml[server]"
RUN pip install --no-cache-dir pyarrow
RUN zenml integration install sklearn -y
In addition, building the image to come with zenml preinstalled and hosting the image on DockerHub also sped up dev container build times over the previous approach which was to install zenml only after downloading the image.
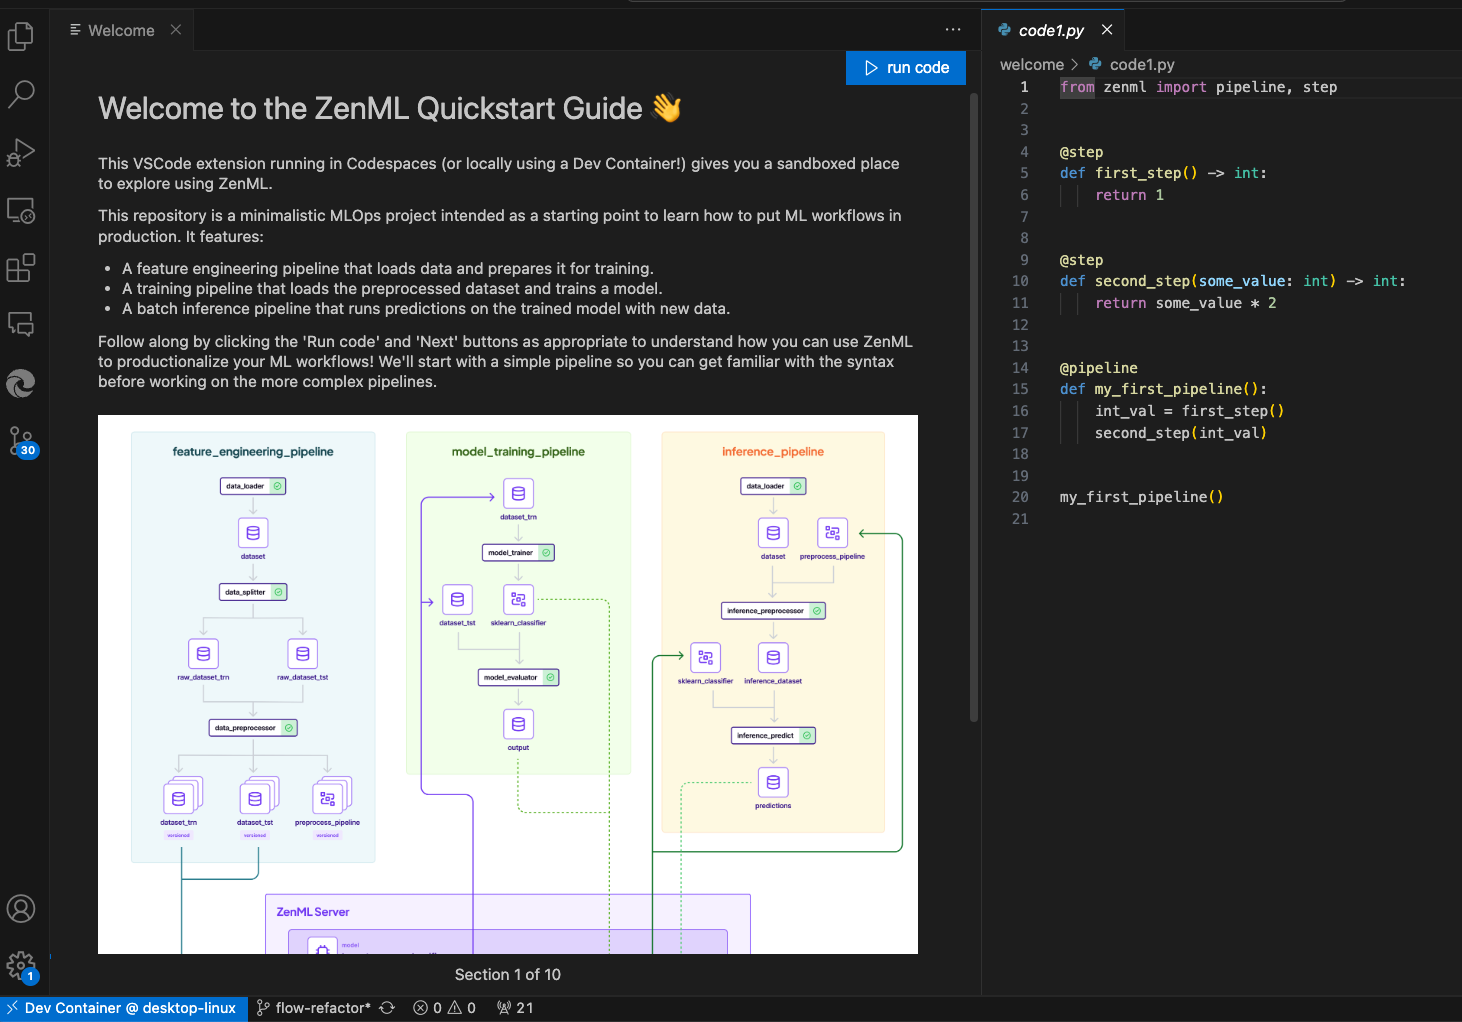
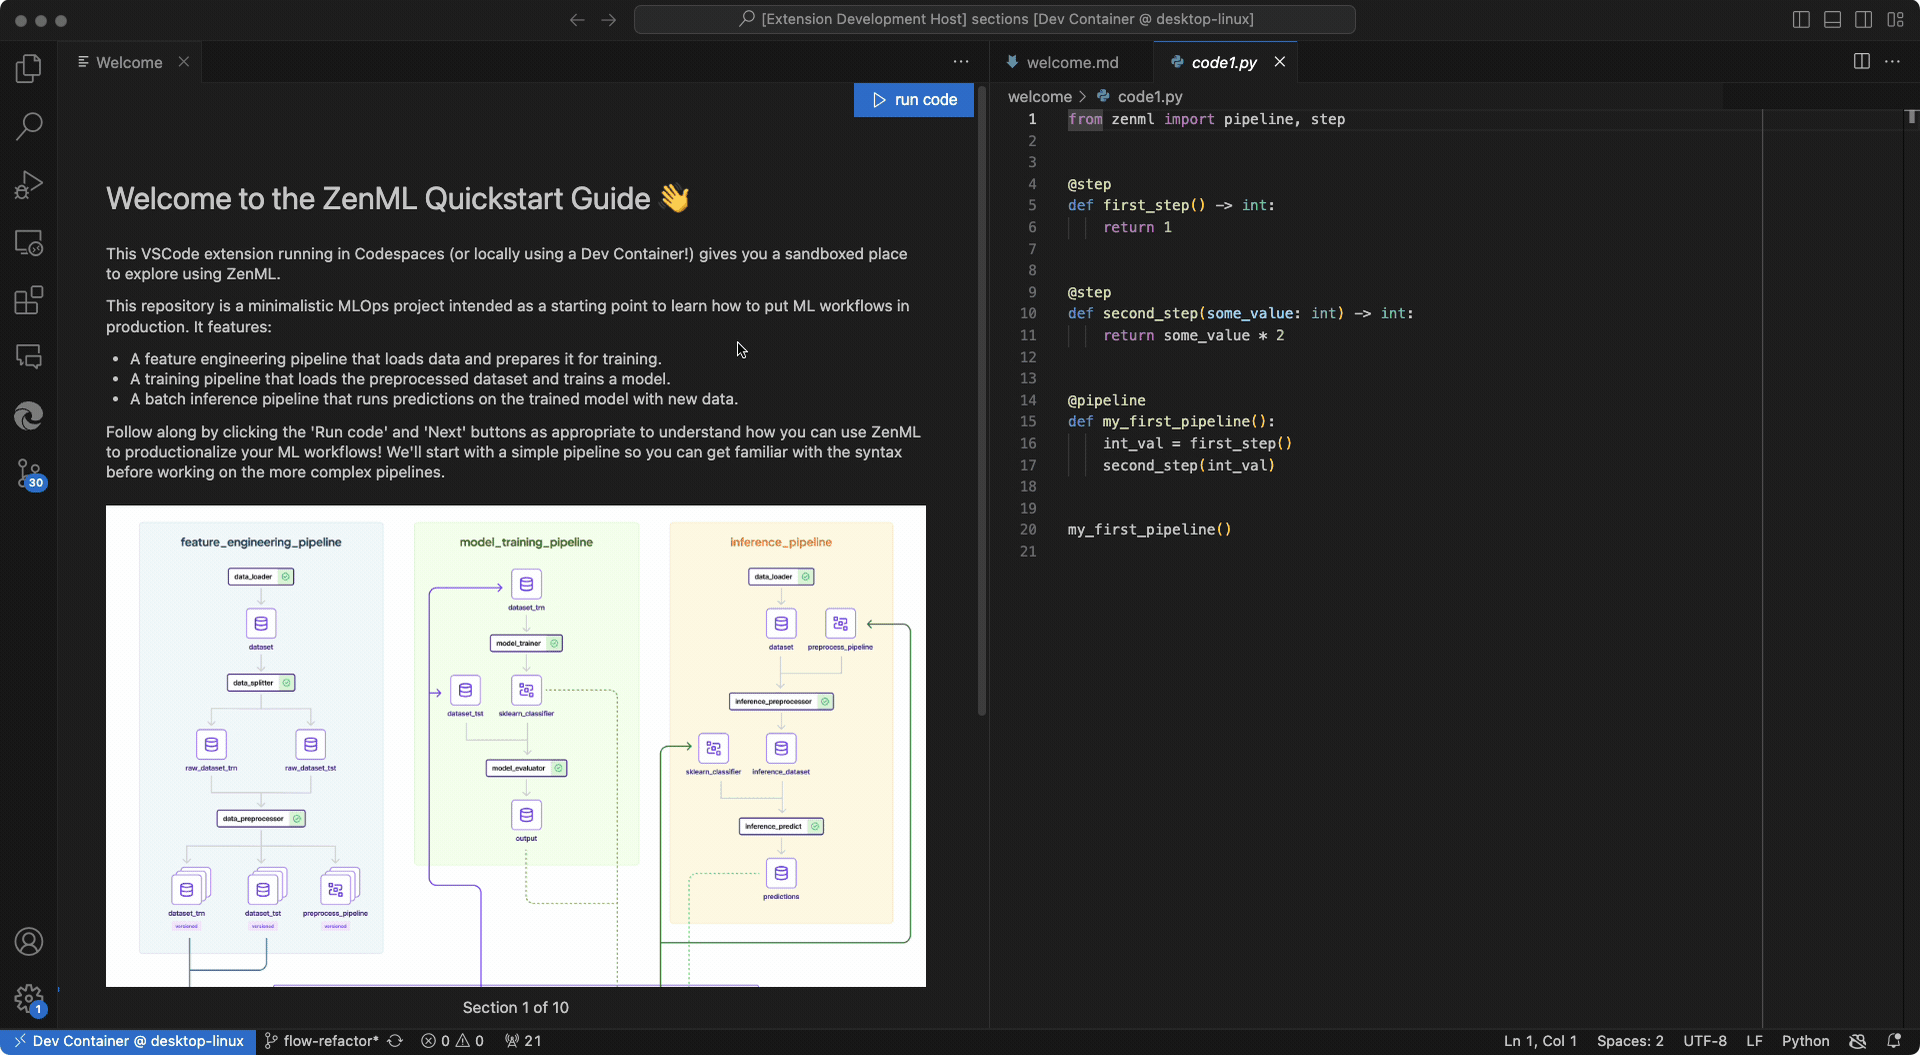
Developing a Guided Experience in VSCode
Some of our challenges when creating this Quickstart as a VSCode extension arose because the VSCode API was not made for co-opting the entire VSCode instance and controlling the user’s flow. As a result, a lot of logic had to be written to (a) account for the user taking actions that might hurt the Quickstart experience (like closing needed panels or terminal instances), and (b) arrange panels and sidebars in such a way that makes it clearer to the user where to pay attention at a given point. In addition, sometimes the VSCode API didn’t provide ready-to-use methods for actions we wanted to take; for example, there’s no command in the API to close the sidebar — only to toggle it. So to ensure it is closed we have to first focus it, and then toggle it closed:
vscode.commands.executeCommand("workbench.view.explorer");
vscode.commands.executeCommand("workbench.action.toggleSidebarVisibility");
That’s a fairly simple example. But sometimes we had to be more creative when trying to implement what we wanted to do, as we’ll talk about later in the section about detecting the outcome of a code run.
On the other hand, one of the benefits of developing such an experience in VSCode is the user’s ability to freely experiment with the Python code examples. With this in mind, we wanted to create an easy way for the user to restore the code examples to their original form after any experimentation.
We did this by creating backups of the original files and initializing listeners for changes to the active code editor. Any time a given code example didn’t match up to the backup, we made a reset code button available for the user.
The activate Function — the Entry Point into a VSCode Extension
There are two important parts to any VSCode extension: the extension Manifest (which is a package.json file that also holds some configuration data) and the activate function, which determines what actions your extension takes once it is activated. You determine the event that kicks off activation through the activationEvents field of the package.json file:
{
  // other properties omitted for brevity
  "activationEvents": [
    "onStartupFinished"
  ],
  // other properties omitted for brevity
}
In our case, onStartupFinished means our activate function is called at some point after VSCode finishes loading. Here’s an abridged version of our function:
export async function activate(context: vscode.ExtensionContext) {
  const quickstart = new Quickstart(quickstartMetadata, context);
  const orchestrator = new QuickstartOrchestrator(context, quickstart);
  orchestrator.start();
}
We create a new Quickstart object, which sets some initial state, including loading in the sections for our Quickstart and keeping access to the ExtensionContext object, and then we call the start function on our QuickstartOrchestrator, which sets up the panels and listeners and begins the Quickstart.
Detecting the Outcome of a Code Run
One of the things not currently supported by the VSCode API is the ability to interface directly with the integrated terminal. This meant that while there was a way to send commands to the terminal, there wasn’t a way to listen for when a task in the terminal was complete or determine the exit status of the completed task. This was important for our Quickstart because we wanted to be able to move the user forward through the process once a task was completed, but not if it ran into any errors.
To work around this limitation, we made use of signal files, a bash script, and the built-in VSCode FileSystemWatcher. When the user presses the run code button, instead of just running the desired file (which requires sending a command to the terminal such as python filename.py) we created a bash script that first ran the file, and then, based on whether the file was executed successfully or not, created a success.txt file or an error.txt signal file, which the FileWatcher was then listening for.
clear
echo "Executing code..."
python "${filePath}"
if [ $? -eq 0 ]; then
  touch "${successFilePath}"
else
  touch "${errorFilePath}"
fi
exit
We used the $? variable which holds the exit status of the last executed command to determine whether or not the python file we wanted to run ran successfully. We also cleared the terminal before running each code and echo-ed a custom message to the user to confirm the code was running so as not to confuse the user with a message such as bash script.sh.
The task of running code and watching for its success or failure was extracted into its own codeRunner utility module for better reusability.
WebViews and a Custom Interface
To display to the user an interface for navigating the Quickstart, we made use of VSCode’s WebViews, which allows you to display a custom HTML file within VSCode.
WebViews in VSCode are isolated from the rest of VSCode and don’t have direct access to the VSCode API, but instead use message-passing between the embedded script in the HTML page and the WebView object. We then used a switch statement to determine the right course of action based on the message type:
this.panel.webview.onDidReceiveMessage(async (data) => {
      switch (data.type) {
        case "openSection": {
          this.openSection(data.id);
          this.closeTerminal();
          break;
        }
        case "runCodeFile": {
          await this.runCode();
          break;
        }
        // for dev only
        case "editText": {
          this.openEditPanel(this.currentSection.doc());
          break;
        }
        case "serverConnect": {
          this.sendTerminalCommand(`zenml connect --url "${data.url}"`);
          break;
        }
        case "localServerConnect": {
          this.sendTerminalCommand("zenml up");
          break;
        }
        case "next": {
          if (this.currentSection.isDone()) {
            this.openSection(this.currentSectionIndex + 1);
            this.closeTerminal();
          } else {
            this.currentSection.nextStep();
            this.openSection(this.currentSectionIndex);
          }
          break;
        }
        case "previous": {
          this.back();
          break;
        }
        case "resetCodeFile": {
          this.resetCode();
          break;
        }
      }
    });
Organizing Flow with JSON files for Flexibility
The Quickstart files are organized via a JSON file:
{
  "sections": [
    {
      "title": "Welcome",
      "description": "Welcome to the ZenML Quickstart guide.",
      "steps": [
        {
          "doc": "zenmlQuickstart/sections/welcome/welcome.md",
          "code": "zenmlQuickstart/sections/welcome/code1.py"
        },
        {
          "doc": "zenmlQuickstart/sections/welcome/finish.md",
          "code": "zenmlQuickstart/sections/welcome/code1.py"
        }
      ]
    },
  ],
  // rest of the sections omitted for brevity
}
All the sections of the Quickstart are objects held in an array, and each section has an array of steps, with each step holding the path to its accompanying markdown document and code snippet.This way, the JSON file acts as the interface through which the Quickstart class and QuickstartSection classes interact with the required files for the Quickstart, and if one later decides to change the order of steps, add or remove sections, or change the files that are displayed, they could do so without interfering with the business logic of the application, provided the schema doesn’t change.
Internal Tools for Editing Flow
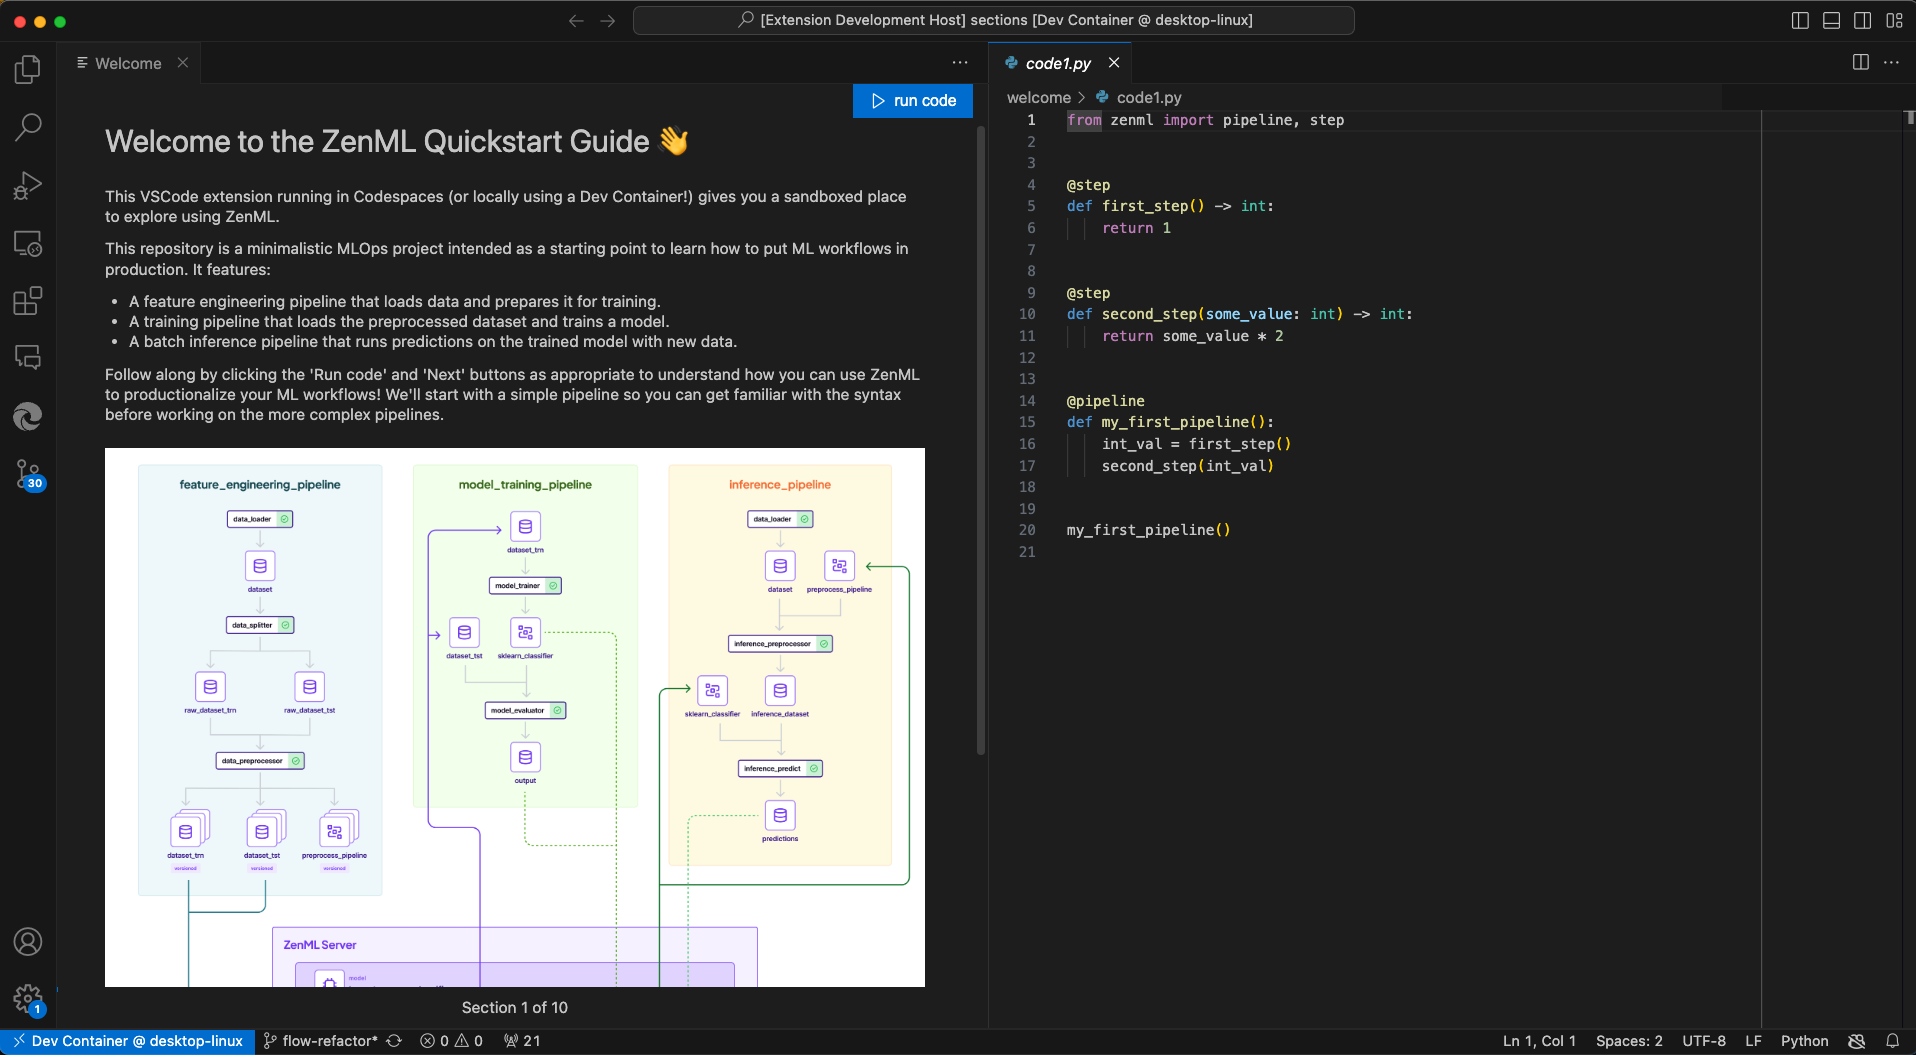
Part of working on the Quickstart requires fine-tuning the flow between steps, and to make this easier to do from within the experience itself, we implemented a button in development that opens the relevant markdown file for each step.
It’s one of those things that is fairly easy to implement (it’s simply hijacking the same method that opens the code snippet for each step) but makes a significant quality-of-life improvement.
Future Work
What we’ve achieved so far is a great starting point for an IDE-integrated onboarding experience. There are many improvements and exciting features we could work on to make this a better experience for the user.
One of the biggest improvements that could be made would be to how the user begins the Quickstart. At the moment, one would have to navigate to the outer-facing repository on GitHub, click on the Code button, then Codespaces to create a new Codespace, and then wait for 2 minutes or so for Github to provision the Dev Container. Either that, or they would have to clone the repository locally and open it in VSCode, then use the command palette to open the repository in a Dev Container. In the meantime, while the container loads, there isn’t any indication of where the user is in the process, how much longer it’s going to take, or even necessarily if it has finished or something went wrong in the process, or if its still time to wait a while.
In an ideal world, a user would be able to navigate to this process in one step — perhaps by clicking one button and then viewing a loading screen that makes it clear where they are in the process while the environment is being provisioned in the background. The loading screen could perhaps give some additional context to ZenML or could just be a pleasant backsplash that tells the user to go get coffee while everything is getting set up.
The GIF below illustrates the current situation: we see Codespaces pausing and then reloading several times before the Quickstart loads. A user could interpret the pause in action at any of these points as the provisioning process being finished, which is not ideal.
Other points to improve upon are related to the flow itself. At the moment the flow allows the user to connect to an instance of ZenML Pro, and later provides some insight into the fact that a user could also spin up a local version of the dashboard. It would be nice if instead the user was presented with both options up front. In addition, some ability to choose between multiple Quickstarts (perhaps each tailored towards a different ZenML flow, or varying in complexity) would be beneficial.
In terms of internal tools, a fun feature to have would be some central GUI to manipulate the flow of sections or steps without having to go into the JSON file and manually add and change file paths, or copy-and-paste steps to move them around. Adding this feature would make it easier to create new Quickstarts and polish existing ones. It may also be beneficial to have GitHub Actions set up to automatically package the extension on the development repository when it gets updated and move the packaged version over to a branch on the outward-facing repository. At the moment we have a script that does this in the development repository, but it requires a developer to have both repositories downloaded locally and open on their machine.
Conclusion
We’re excited about what we developed so far. We feel an IDE-integrated onboarding process gets newcomers to ZenML up to speed faster and in a more familiar environment and we’re even more excited about the future possibilities we can build on top of it that help both users and developers alike.
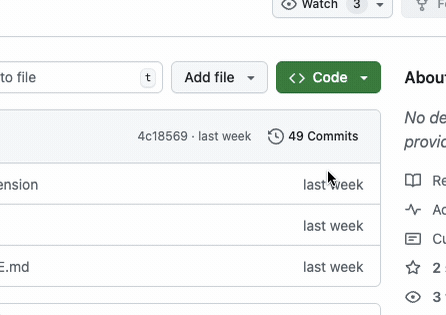
If you’d like to try the Quickstart, you can do so by heading over to the repository, clicking the Code button, and creating a new Codespaces.
Tess Lockey* is a full-stack software engineer with a background in design. She enjoys working on tools that help us think, create, and collaborate better. Feel free to reach out and connect on LinkedIn.*
Jonathan Hurd* is a full-stack engineer who enjoys digging into the details of problems and learning how to solve them. Feel free to reach out and connect on LinkedIn.*